
My love for dish wear had me jumping for joy when I found out about these porcelain paint pens over at more design please. Can't you just imagine all the fun to be had with this great product?...Happy Crafting Everyone!
My love for dish wear had me jumping for joy when I found out about these porcelain paint pens over at more design please. Can't you just imagine all the fun to be had with this great product?...Happy Crafting Everyone!

I don't post about fashion often on the blog {thinking about doing it more} but I just had to let you all know about this really cute DIY project. I've been eyeing this notebook tee for awhile now so imagine my excitement when I found Tutus and Tea Parties DIY tutorial. I can't wait to give it a try. Let me know if you do too...Happy Crafting Everyone!

About a month ago I found a recipe from Martha Stewart on how to make your very own chalkboard paint. I gave it a try and found it very useful. The instructions are simple enough. The only thing I found was that It was very hard to stir the paint after adding the unsanded tile grout so I suggest using a mixer on the end of your drill to get the paint as smooth as possible. I used a quart of "forget me not" valspar paint on one wall in my apartment and it turned out pretty well. Let me know if you give it a try or if you have any questions...Happy Crafting Everyone!
Custom Colors How-To Chalkboard Paint
Start with flat-finish latex paint in any shade. For small areas, such as a door panel, mix 1 cup at a time.1. Pour 1 cup of paint into a container. Add 2 tablespoons of unsanded tile grout. Mix with a paint stirrer, carefully breaking up clumps.
2. Apply paint with a roller or a sponge paintbrush to a primed or painted surface. Work in small sections, going over the same spot several times to ensure full, even coverage. Let dry.
3. Smooth area with 150-grit sandpaper, and wipe off dust.
4. To condition: Rub the side of a piece of chalk over entire surface. Wipe away residue with a barely damp sponge.

 I've only just return and I'm already off visiting another fabulous blog. Today I'm over at a' la mode for Shelli's Tuesday's Turndown series where I'm discussing some of my favorite DIY items in my master bedroom. Hope you all stop by and say hi. If you have a question or comment, please leave them at a' la mode and I will do my very best to answer...Happy Decorating Everyone!
 Over the weekend I had some free time so I decided to do a bit of crafting for the Good Shepherd Center Design Project. All the rooms are required to have a massage board and I wanted mine to have some pop. Making my own push pin message board was a tad harder than I thought but in the end I think it turned out pretty good. In all I would say this project cost me around $20...Happy Crafting Everyone!
 Step Two:
 Step Three:
 Step Four:
 Step Five:
 I'm loving this DIY decorative tray project on marthastewart.com. It looks simple enough to do so I think I will give it a try one of these weekends. What a great way to incorporate pattern and color into a space...Happy Crafting Everyone!
 I know I’m not the only one who fell in love with the whimsical seasonal tablescape in the holiday issue of Lonny Magazine. The gold plates, pink accents and confetti inspired tablecloth are to die for. Even the simple “Voila” lighter makes a statement. So, to kick off this year’s round of DIY projects, I figured we would start off slow with something simple yet impactful. Here is a quick and easy DIY project for turning a simple lighter into a place holder for your next event. Hope you enjoy it and please let me know if you have any questions…Happy Crafting Everyone!
 Step One:
 Step Three:
 I told you it was quick and easy. More DIY projects inspired by this tablescape to come.
 My obsession with the Kate Spade pink ampersand artwork has finally culminated into a DIY project. Before I get started on how to get this project started I must say that this is my first and last (as of now) art project. I must also let you know that there are a number of different ways to do this project and the way I chose to go about it might have been the most difficult. All that being said I hope you guys still try this project at home because the result is really beautiful and would bring such life to any space. In total this project cost less than $20. Let me know if you have any questions...Happy Crafting Everyone!
 Step One: Pour sample paint into roller lite tiny touch up kit.
 Step Two: Paint entire canvas and let it dry.
 Step Three: While canvas is drying use exacto knife to cut out ampersand graphic.
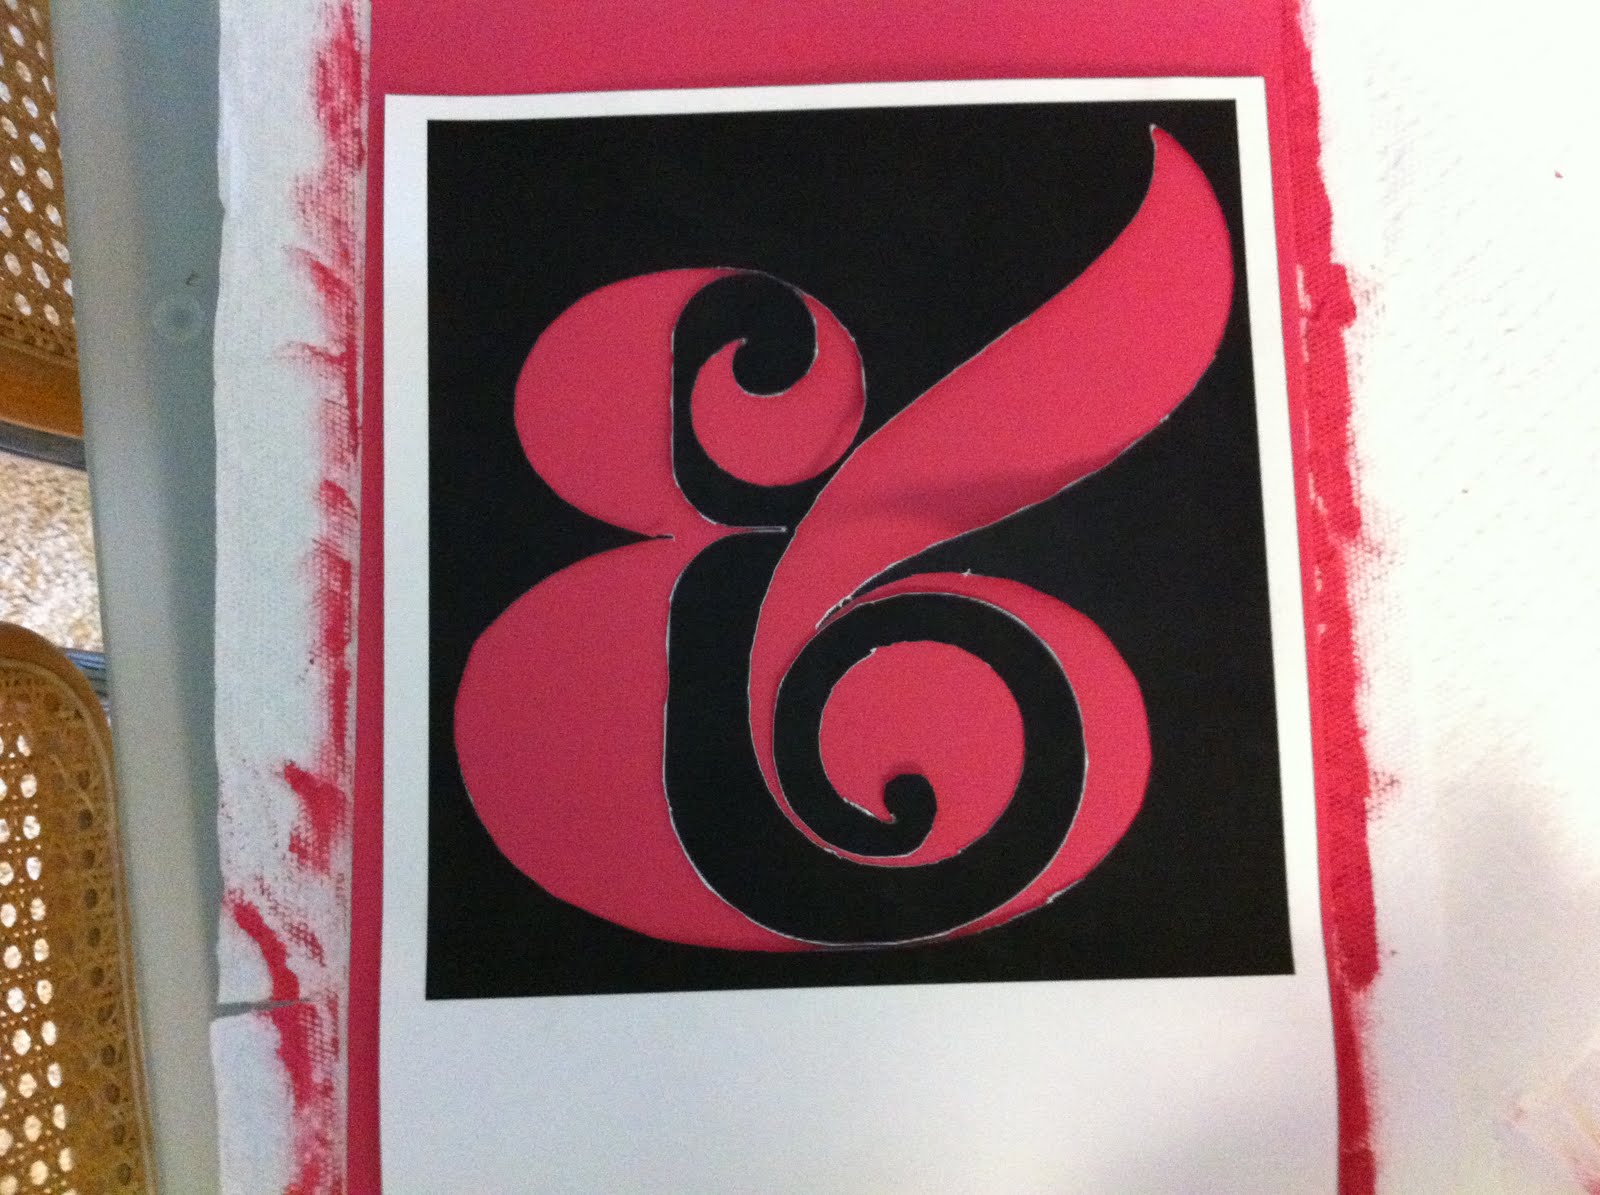 Step Four: Once the canvas is dry and you have cut out your template use the painters tape to tape your template onto the canvas.
 Step Five: Use the spray paint to cover the openings of the template. OR you can use a roller and roll on white paint. This method might be best because I had blow back from the spray paint that I had to later touch up as you will see in the following steps.
 Step Six: Remove the template from the canvas and use your art brushes to make any touch ups needed because of blow back.
 Step Seven: Once paint is dry, hang and enjoy.
 I'm starting to see this pink ampersand artwork every where. First on the walls of Kate Spade New York and now I see it hanging on this fab baby blue chevron wall. I'm not sure where I can pick one up but I do think it would make a great DIY project. Maybe I'll try it out next weekend. I will keep you all posted. In the mean time if you know where one is available for purchase please let me know... Happy Crafting Everyone!
 I'm moving really slow today but I just had to post about Gertie Hurley and her crack at the teapot lamp. It looks fabulous and I'm so in love with the little teapot finial. I was beyond happy when she emailed me to let me know she was giving it a try. Seeing the results yesterday in my inbox just made my day. Thank you so much Gertie...Happy Crafting Everyone!
 I think my new vanity/desk turned out pretty well. I found this old sewing machine table at the thrift store for $25. I brought some new life to it with a fresh coat of paint and new hardware. In total the project cost me around $50, which I believe is a small price to pay for a vanity that is uniquely your. Let me know if you have any questions…Happy Decorating Everyone!
 New Hardware
 All Done!
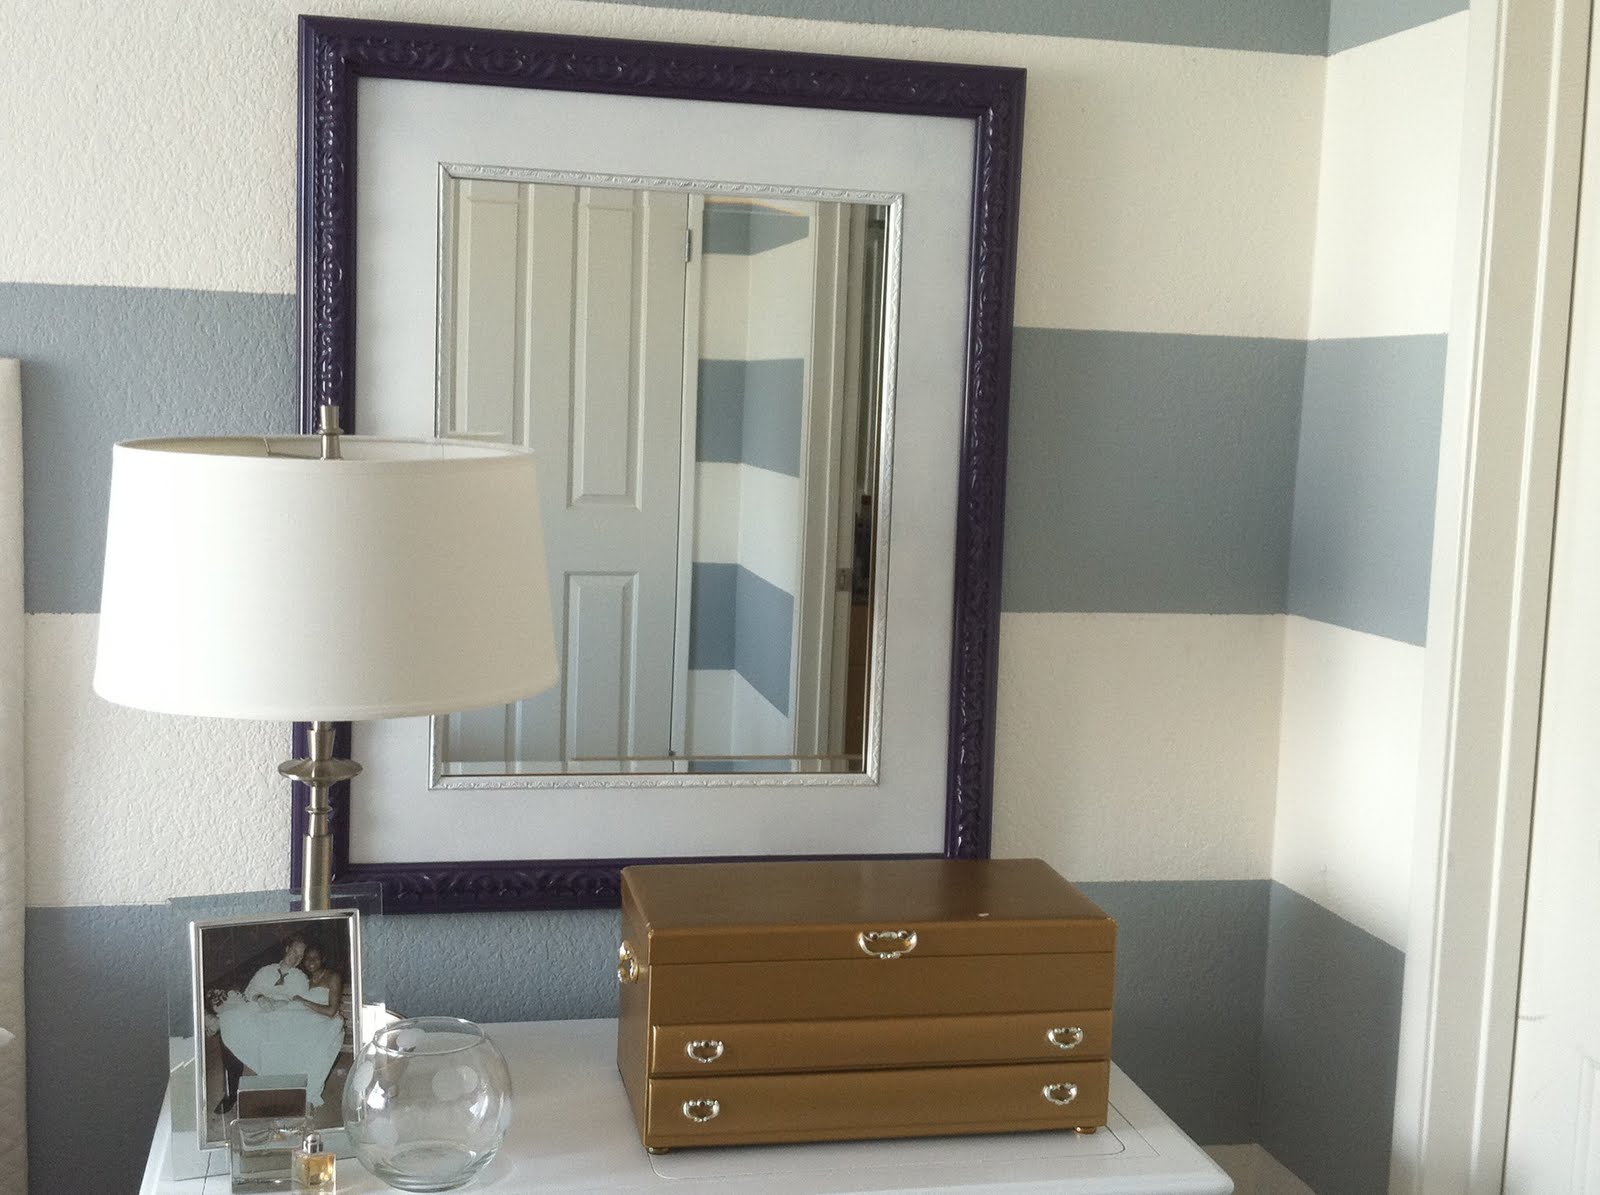 I was looking to create some drama in my master bedroom with a mirror that was elegant and eye popping. I couldn’t find one in my budget so I decided to make one. I had this old artwork in my garage that I wasn’t using so I used it to create my mirror. I used the frame, some spray paint and a $9.99 mirror from Ikea to get what I wanted on a shoestring budget. Let me know if you have any questions…Happy Crafting Everyone!


 Step Five: Add Mirror

 I'm not going to say I'm now an expert at installing dimmers but I did learn a thing or two about it this past weekend. I installed a few dimmers in my apartment to add mood lighting and I must say I'm very proud of myself. Granted it wasn't very hard to do. Actually it was quite simple. Most of what I learned came from this video. It's easy to follow and very informative. Only tip I can add is that I had to switch out our florescent bulbs for incandescent ones. The dimmer just wouldn't dim the florescent ones (still not sure why). Hope you guys give dimmers a try. They are an inexpensive way to add sophistication and drama to your home...Happy Decorating Everyone!

 Finally the Louis Chair redo is over. It took a lot to get them done but it was well worth it. I think they turned out beautifully and look great against the gray stripes. I don't really have any tips for this redo, just the obligatory "measure twice cut once". Steps include sanding, priming, paint, and then reupholster. Let me know if you have any questions...Happy Redecorating!


|
|
|
|
|
|
|
|
|
|
|
|
|
|
|
|
|
|
|
|


